Tag: puzzle games

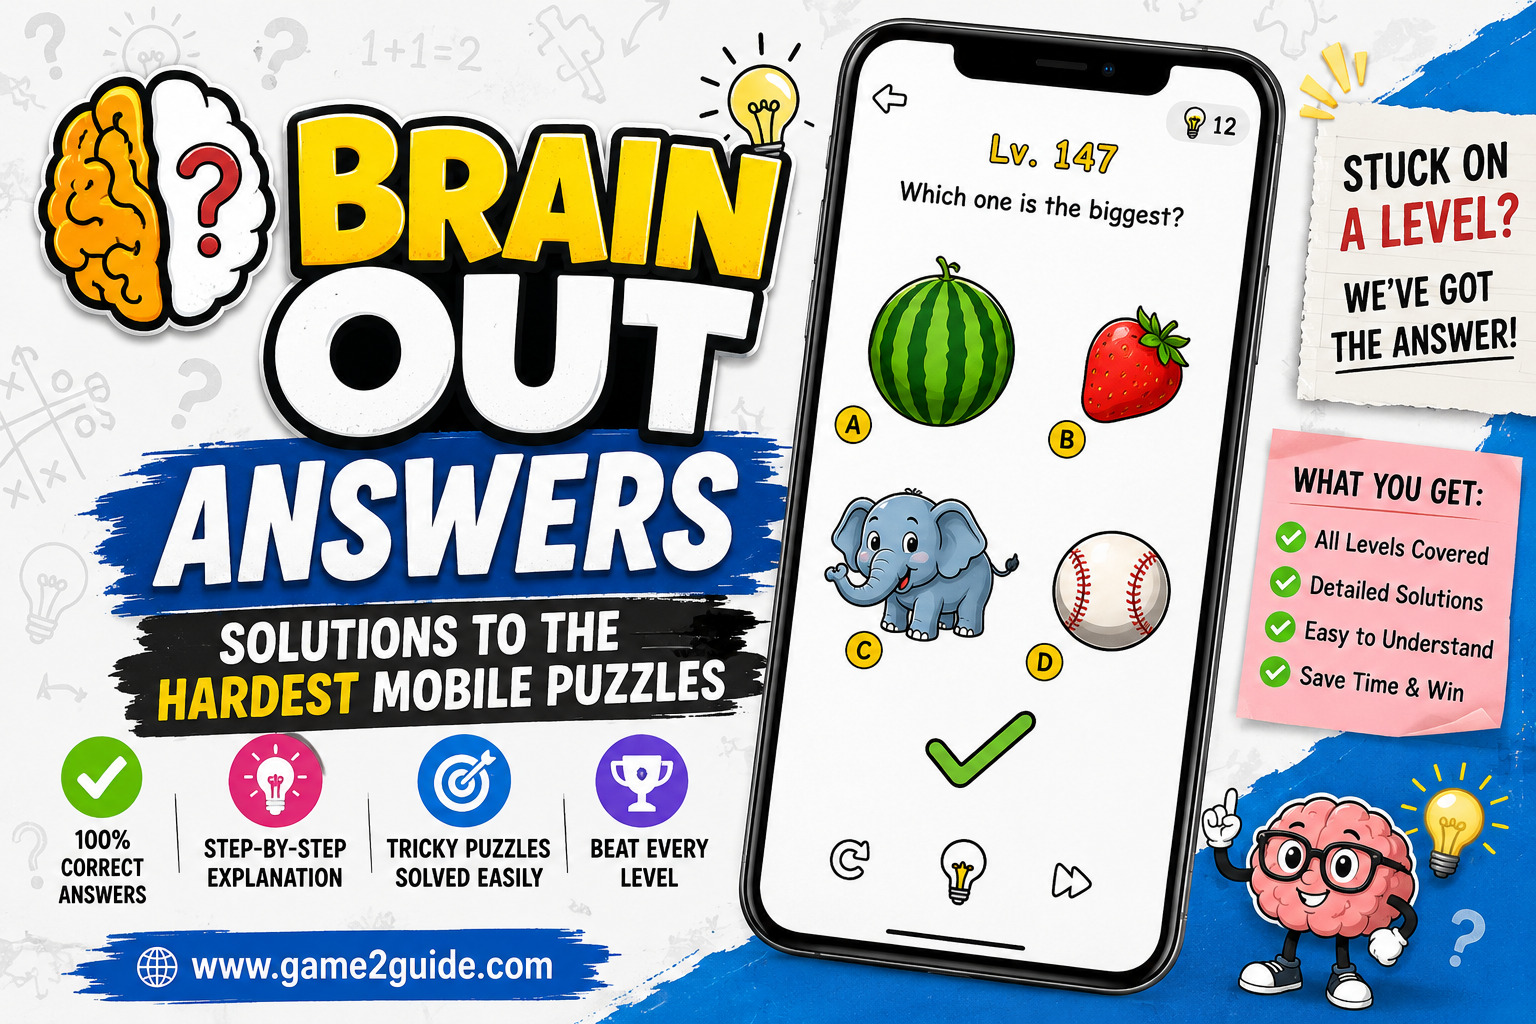
  • Brain Out Answers: Solutions to the Hardest Mobile Puzzles

    Brain Out Answers: Solutions to the Hardest Mobile Puzzles

    Staring at a Brain Out level for the tenth time, convinced the game is broken, is basically part of the experience. The truth is, almost every level that feels impossible has a completely logical solution once you stop thinking like a normal puzzle player and start thinking like the game actually wants you to. This game have 4.53 stars, 100M+ downloads. 

    This guide is not a level-by-level answer key, since Brain Out updates and shuffles content often enough that specific numbered solutions go stale fast. Instead, it breaks down the actual patterns behind Brain Out answers, so you can solve new and unfamiliar puzzles on your own instead of getting stuck waiting for someone else’s walkthrough.

    Why Brain Out Feels So Much Harder Than Other Puzzle Games

    Most puzzle games follow consistent internal logic. Brain Out intentionally breaks that expectation. The instructions given on screen are often misleading on purpose, and the actual solution frequently involves ignoring the stated objective entirely.

    This design choice is exactly why so many players get stuck. You are not solving a math problem or a matching puzzle in the traditional sense. You are figuring out what the developers actually want you to notice, which is a completely different skill than solving a normal brain teaser.

    The Core Trick Categories Behind Most Brain Out Levels

    Once you recognize the recurring patterns Brain Out relies on, new levels become much easier to approach, even without a specific answer key.

    Ignore the Written Instructions Literally

    A huge number of levels give an instruction that sounds straightforward but is actually a distraction. If a level asks you to count something specific, the real solution often involves interacting with an element the text never directly mentions. Read the instruction, then immediately look at everything else on the screen that was not explicitly addressed.

    Interact With Every Element on Screen

    Tapping only the obvious puzzle piece rarely works in Brain Out. Try tapping background elements, character faces, decorative objects, and even the instruction text itself. Many solutions hide in places that look purely decorative at first glance.

    Use Physical Device Gestures

    Some levels are not solved with taps at all. Shaking the device, tilting it, or holding down on an object for several seconds are all legitimate mechanics in Brain Out. If tapping alone is not working after a reasonable number of tries, experiment with these physical gestures before assuming you are missing a hidden tap target.

    Step-by-Step Approach for Solving Unfamiliar Levels

    Rather than memorizing specific answers that may change between game versions, use this repeatable process whenever you hit a level that seems impossible:

    1. Read the instruction slowly and identify the literal wording. Brain Out is often technically honest, just misleading in how it phrases things.
    2. Scan the entire screen for anything unusual or out of place. Odd proportions, mismatched colors, or objects that seem randomly placed are frequent hints.
    3. Try interacting with anything you have not touched yet, including text, borders, and background scenery.
    4. Attempt physical gestures if tapping does not produce results, such as shaking or tilting the device.
    5. Reconsider the objective from an opposite angle. If the goal seems to be adding or completing something, the real solution sometimes involves removing or breaking something instead.

    Working through these steps in order solves the vast majority of levels without needing an outside answer key at all.

    Common Puzzle Themes That Repeat Throughout the Game

    While specific level content changes, Brain Out reuses a handful of puzzle themes repeatedly. Recognizing these themes early speeds up your solving process significantly.

    • Counting puzzles that are not really about counting. The stated number in the instruction is frequently a red herring, and the actual solution involves a completely different interaction.
    • Character-based puzzles where you help or annoy an on-screen figure. These often require unconventional actions like poking, dragging, or repeatedly tapping a character rather than solving a traditional logic problem.
    • Balance and measurement puzzles that ignore realistic physics. Do not assume real-world weight or size rules apply. Brain Out frequently rewards illogical solutions over technically correct ones.
    • Hidden object puzzles where the object is disguised as part of the background. Look for slight color or shape inconsistencies rather than assuming the object is obviously distinct.

    Tips for Reducing Frustration on Genuinely Tricky Levels

    Even with a solid strategy, some Brain Out levels take longer to crack than others. A few habits help keep frustration from slowing down your progress.

    • Step away for a minute or two if a level is not clicking, since fresh eyes often spot the trick faster
    • Avoid overthinking simple-looking levels, since Brain Out sometimes hides the trickiest logic behind the simplest visuals
    • Pay attention to any hint system the game offers before assuming a level requires outside help
    • Remember that a level rarely requires precise timing or reflexes, so slow, deliberate experimentation is usually more effective than rapid tapping

    Common Mistakes That Slow Down Puzzle Solving

    Even experienced players get stuck longer than necessary because of a few repeated habits. Watch out for these:

    • Trusting the instruction text completely. Brain Out frequently uses wording that is technically accurate but intentionally misleading about what actually needs to happen.
    • Only tapping the most obvious object. Solutions frequently hide in background details, character elements, or the instruction box itself.
    • Giving up on a level too quickly. Many puzzles require multiple failed attempts before the actual trick becomes obvious.
    • Forgetting to try device gestures. Shaking or tilting solves more levels than most players initially expect.

    Cutting down on these habits alone tends to noticeably speed up how quickly you get through unfamiliar levels.

    Long-Term Habits for Getting Better at Brain Out

    Players who consistently breeze through Brain Out’s trickiest content tend to share a few habits beyond individual level strategy:

    • Approaching every new level with the assumption that something on screen is not what it appears to be
    • Testing unconventional interactions early rather than as a last resort
    • Staying patient on levels that resist an obvious solution rather than rushing through randomly
    • Treating the instruction text as a hint rather than a literal, complete rulebook

    None of these habits require outside help or a specific answer list. They come down to recognizing the game’s underlying design pattern and applying it consistently.

    FAQ: Solving Brain Out’s Hardest Puzzles

    Why does Brain Out give instructions that seem misleading?

    This is intentional game design. Brain Out is built around lateral thinking, meaning the stated objective is often a distraction from the actual solution, which usually involves an unexpected interaction.

    Do I need to shake or tilt my device for every level?

    No, but it is worth trying if tapping alone is not producing results after a reasonable number of attempts. A meaningful portion of levels rely specifically on these physical gestures.

    Is there a single answer key that works for every version of Brain Out?

    Not reliably. Brain Out updates and reshuffles content periodically, which is why understanding the underlying trick categories tends to be more useful long-term than memorizing specific numbered answers.

    What should I do if I have tried everything and I am still stuck?

    Step away for a few minutes and come back with fresh eyes. Many players report solving a stuck level almost immediately after a short break, simply because they stop overthinking the literal instruction text.
  • Connecting the Dots in Two Dots: Advanced Mechanics Explained

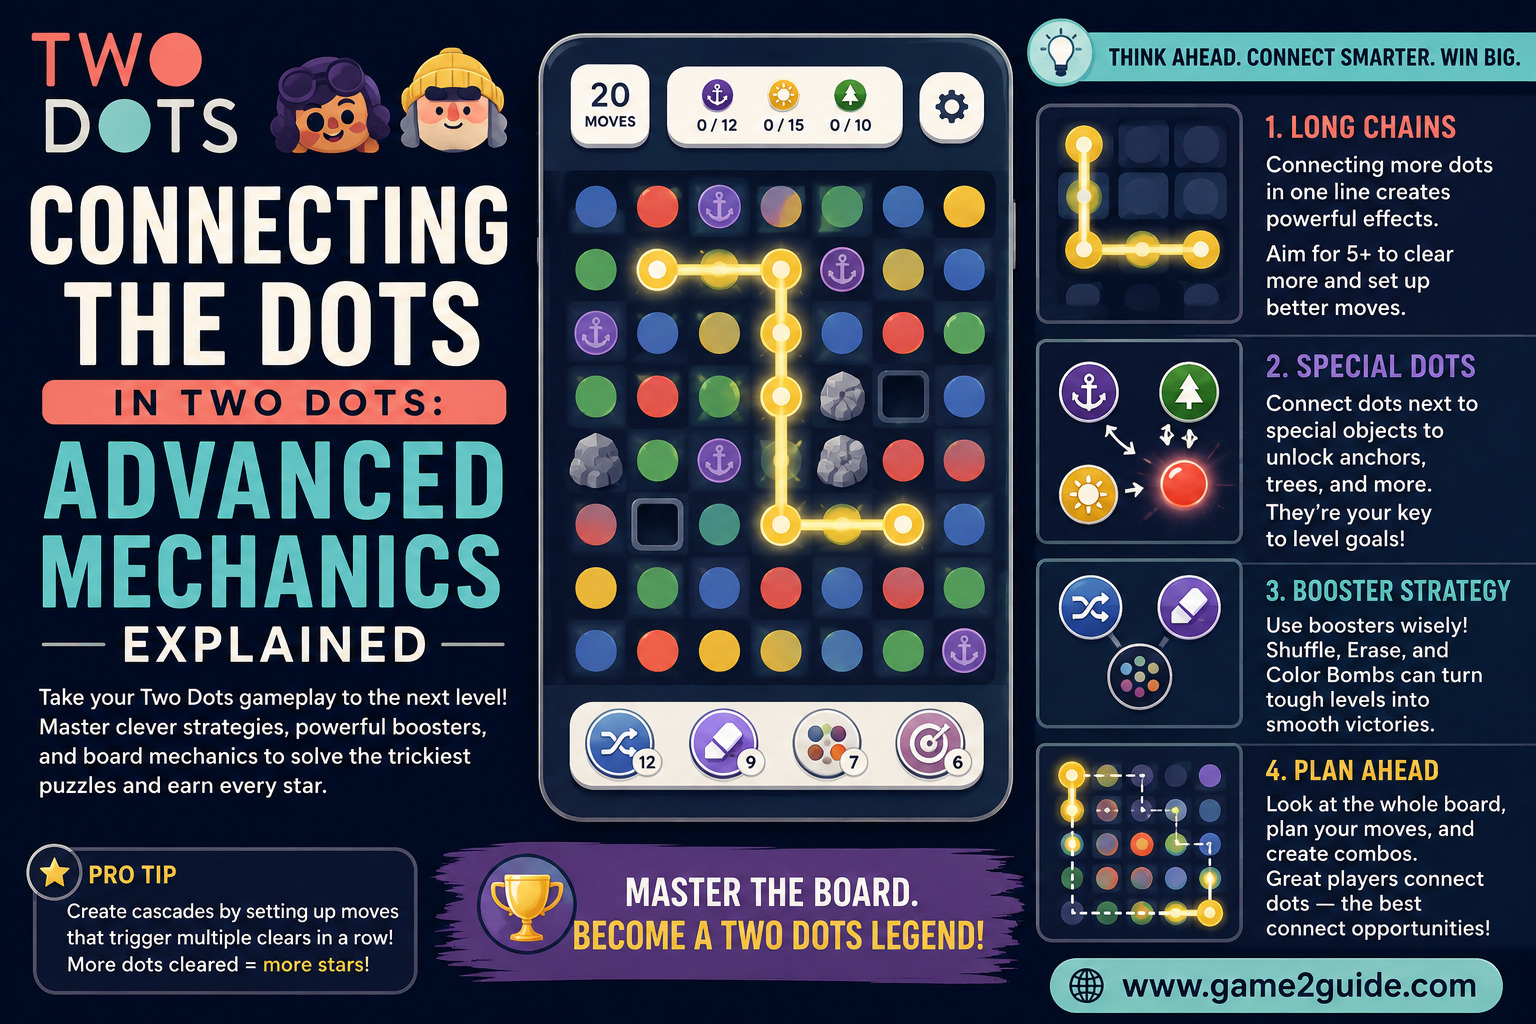
    Connecting the Dots in Two Dots: Advanced Mechanics Explained

    Two Dots looks deceptively simple at first glance, just a grid of colored circles and a finger tracing lines between them. Then the anchors show up, the fire mechanic gets introduced, and suddenly a game that felt relaxing turns into something that requires real planning. Understanding the mechanics behind connecting the dots in Two Dots is what separates players who breeze through later chapters from players who get stuck replaying the same level for a week. This game have 4.26 stars, 50M+ downloads. 

    This guide breaks down the advanced systems the game rarely explains clearly, along with the specific techniques that help you use them efficiently instead of hoping for lucky drops.

    The Basics Behind Connecting Dots, Quickly Recapped

    Before getting into the advanced mechanics, it helps to be clear on the foundation. Connecting two or more dots of the same color in a line clears them from the board. Connecting dots in a closed square shape clears every dot of that color on the entire board, which is one of the most powerful basic moves available from the very first levels.

    Understanding this square mechanic thoroughly matters more than most players realize, since almost every advanced strategy later in the game builds directly on top of it.

    Special Dots and What They Actually Do

    Two Dots introduces several special dot types as you progress, and each one behaves differently once triggered. Knowing exactly what each one does lets you plan moves around them instead of activating them by accident.

    Fire Dots

    Created by connecting a line of five or more dots, fire dots clear an entire row or column when triggered, depending on how they were formed. Save fire dots for later in a level when the board has cleared some space, since triggering them early on a cluttered board often wastes their full clearing potential.

    Box and Anchor Combos

    Anchors typically need to be moved to the bottom of the board through dot connections happening below them repeatedly. Planning your connections specifically around moving an anchor downward, rather than making whatever connection is convenient, gets these objectives cleared far more efficiently.

    Disco Balls

    Formed by connecting a large group of the same color, disco balls clear every dot of one specific color when triggered, similar to a square connection but often covering a larger area depending on how the ball was created. Position your disco ball trigger point carefully, since where you connect it can affect which portions of the board get cleared first.

    Advanced Techniques for Efficient Board Clearing

    Once you understand what each special dot does, these techniques help you use them together more effectively rather than relying on random drops:

    1. Chain special dots together intentionally. Triggering a fire dot next to a disco ball in the same move often clears significantly more of the board than activating them separately.
    2. Build squares in corners first. Corner squares tend to be harder to form naturally as the board shifts, so prioritizing them early prevents wasted opportunities later in the level.
    3. Save large connections for objective-heavy moments. If a level requires clearing specific blockers, save your biggest combo for when it directly addresses that objective rather than triggering it on unrelated dots.
    4. Track dot color scarcity as the board shifts. Toward the end of a level, certain colors become rare. Prioritize connections involving those colors before they disappear from the visible board entirely.

    Reading the Board Before Committing to a Move

    Skilled Two Dots players spend a few extra seconds studying the board layout before making their first connection, and this habit alone significantly improves efficiency on harder levels.

    Identify Natural Square Opportunities

    Look for four dots of the same color already arranged in a square-adjacent pattern. These require minimal setup and provide the biggest single clearing effect available on the board.

    Plan Around Blockers and Locked Tiles

    Later levels introduce blockers like licorice swirls or ice blocks that require specific adjacent connections to clear. Identify these before making unrelated moves, since blockers left unaddressed for too long can restrict your available connections significantly as the board fills in.

    Power-Up Strategy for Tougher Levels

    Power-ups in Two Dots are useful, but using them without a plan wastes resources that could make a genuine difference on levels with strict move limits.

    • Save the “extra moves” power-up for levels where you are consistently one or two moves short, rather than levels you are failing by a wide margin
    • Use color-removing power-ups on boards with too many colors competing for space, since this creates more natural square and line opportunities immediately
    • Prioritize power-ups that address the specific level objective, such as anchor-focused boosts on anchor levels, rather than generic clearing power-ups

    Common Mistakes That Slow Down Board Clearing

    Even experienced players lose efficiency on tough levels because of a few repeated habits. Watch out for these:

    • Making the first available connection instead of scanning the board first. This often wastes a move that could have set up a much larger combo.
    • Triggering special dots too early. A fire dot or disco ball activated on a cluttered board clears less effectively than the same special dot triggered with more open space around it.
    • Ignoring color scarcity late in a level. Waiting too long to connect rare colors often means missing the opportunity entirely as the board shifts.
    • Using power-ups reactively rather than strategically. Power-ups used the moment a level feels difficult, without a specific plan, get wasted far more often than power-ups used with a clear objective in mind.

    Cutting down on these mistakes alone tends to noticeably improve how quickly you clear challenging levels.

    Long-Term Habits for Mastering Two Dots

    Players who consistently perform well in Two Dots tend to share a few habits beyond individual level strategy:

    • Scanning the full board before every move rather than reacting to the first visible connection
    • Planning special dot combinations deliberately instead of triggering them as they appear
    • Tracking objective-specific mechanics like anchors and blockers throughout the level, not just at the start
    • Saving power-ups for levels that genuinely require them rather than using them out of frustration

    None of these habits require spending real money. They come down to patience and a more deliberate approach to reading each board.

    FAQ: Two Dots Advanced Mechanics

    What is the most powerful basic move in Two Dots?

    Connecting dots into a closed square shape clears every dot of that color from the entire board, making it one of the most efficient moves available from early levels onward.

    Should I trigger special dots as soon as they appear?

    Not necessarily. Fire dots and disco balls tend to clear more effectively when triggered later in a level, once the board has some open space rather than being fully cluttered.

    How do anchor levels actually work?

    Anchors need to move downward through the board via connections made below them. Planning your moves specifically around this movement, rather than making random connections, clears anchor objectives far more efficiently.

    Are power-ups necessary to beat harder levels?

    Not always, but they help significantly on levels with strict move limits when used with a clear plan. Reactive, unplanned power-up use tends to waste their potential.

  • Escaping the Grid in Unblock Me Master Difficulty Levels

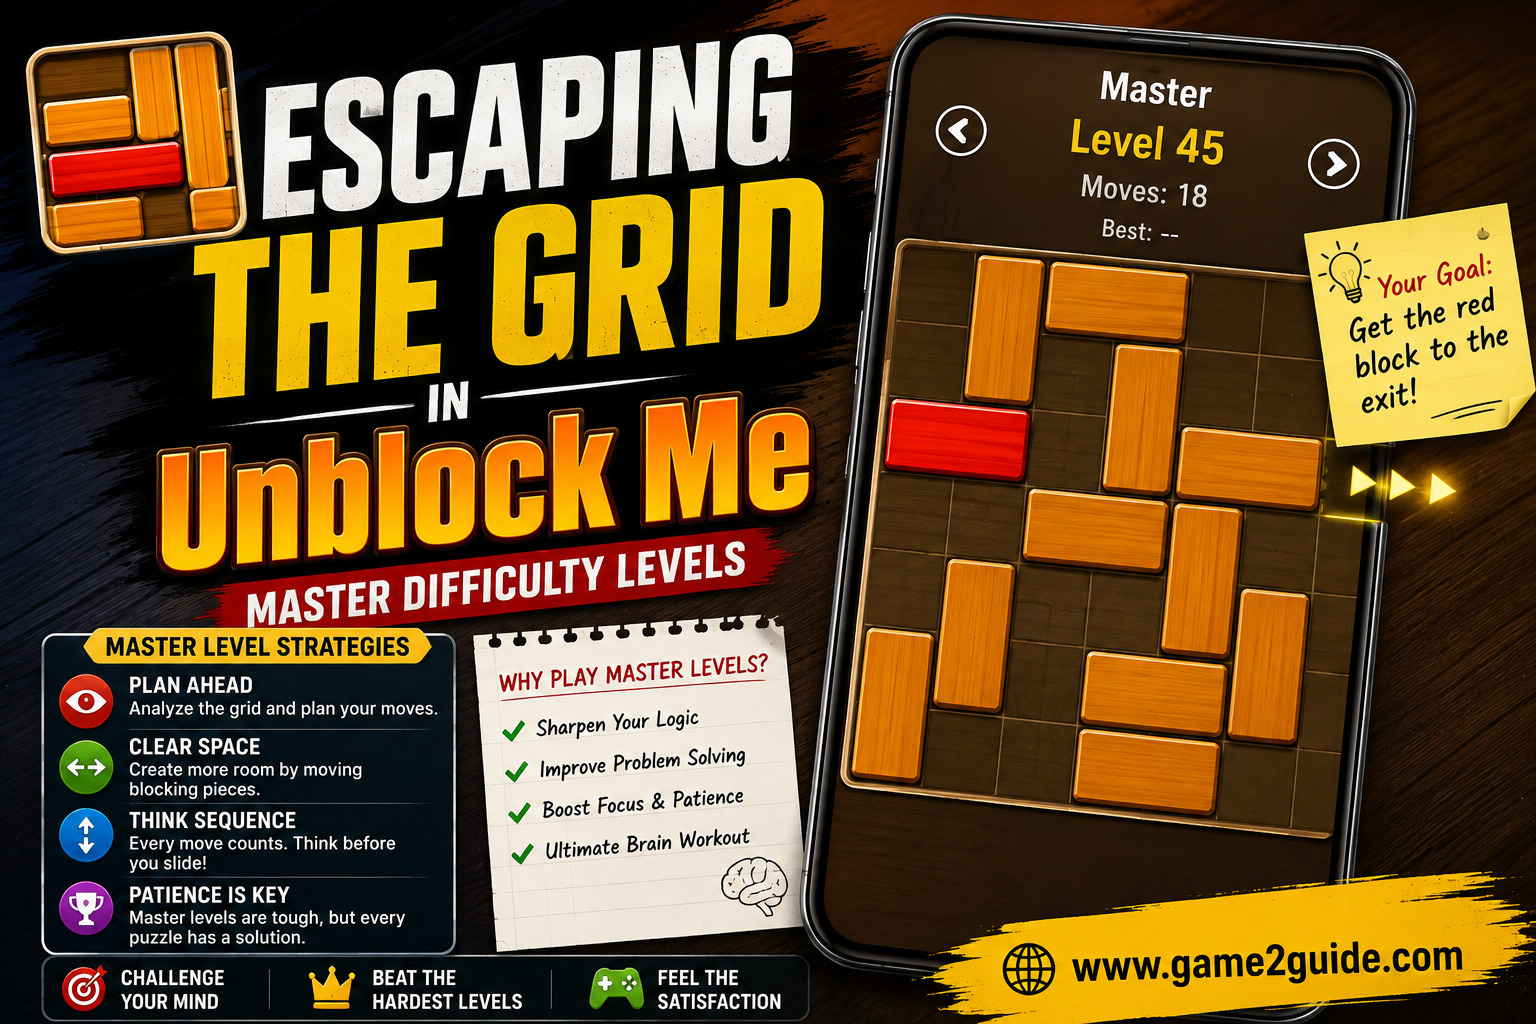
    Escaping the Grid in Unblock Me Master Difficulty Levels

    Sliding a block one square in Unblock Me feels harmless enough, right until you realize it just locked your red block behind three others with no way out. Master difficulty levels punish careless moves in a way beginner and intermediate boards never do, and a lot of players hit a wall the moment the grid stops feeling like a casual time-killer. This game have 4.89 stars, 50M+ downloads. 

    This guide covers exactly what it takes to start escaping the grid in Unblock Me consistently at master difficulty, including how to plan moves in advance, avoid dead-end traps, and think several steps ahead instead of shuffling blocks reactively.

    Why Master Difficulty Feels So Different From Easier Levels

    Beginner and intermediate Unblock Me boards usually allow a fair amount of trial and error without serious consequences. Master difficulty removes that safety net almost entirely. A single careless slide can lock the red block behind a wall of pieces with no legal path to reverse the mistake without undoing several moves.

    The core skill needed here is not speed. It is forward planning. Master boards are designed so that the obvious first move is often the wrong one, and players who rush in without scanning the full grid first tend to trap themselves within the first few slides.

    Read the Entire Grid Before Moving a Single Block

    The single most important habit for master-level success is resisting the urge to move anything until you have studied the full board layout.

    Identify the Direct Path First

    Before touching any block, trace the shortest theoretical path the red block would need to reach the exit if no obstacles existed. This gives you a baseline understanding of which blocks are actually standing in the way versus which ones are irrelevant to the solution entirely.

    Separate Relevant Blocks From Decoys

    Not every block on a master-difficulty grid needs to move. Some pieces sit completely out of the red block’s eventual path and exist purely to clutter your thinking. Spend a moment identifying which blocks genuinely intersect the exit path before planning any moves around them.

    Core Strategies for Solving Master-Level Boards

    Once you have a read on the grid, these techniques consistently help untangle even the most tightly packed master boards:

    1. Work backward from the exit occasionally. Instead of only planning forward from the red block’s starting position, consider what the grid needs to look like immediately before the final winning slide, then work backward from there.
    2. Move blocking pieces to their most flexible position, not just out of the way. A block moved carelessly out of one path often ends up blocking a different necessary path later in the solution.
    3. Prioritize vertical blocks before horizontal ones when they intersect the main path. Vertical blocks often have fewer safe repositioning options, so addressing them earlier prevents them from becoming immovable obstacles later.
    4. Count available empty squares before committing to a multi-step maneuver. Master boards frequently have exactly enough open space for one specific sequence, and miscounting leads to a stuck position requiring a full restart.
    5. Undo early if a sequence starts feeling forced. If you find yourself needing an impossible move to continue, it is almost always faster to undo several steps than to keep pushing forward hoping something opens up.

    Avoiding Common Dead-End Traps

    Master difficulty grids are specifically designed to punish a handful of predictable mistakes. Recognizing these traps before they happen saves significant time.

    The Premature Slide Trap

    Moving a block out of the way immediately, simply because it is possible, often locks it into a position that blocks a different block later. Before making a move just because it is available, confirm it does not create a new obstacle somewhere else in the eventual path.

    The Single-Direction Tunnel Vision Trap

    Focusing entirely on clearing a horizontal path while ignoring vertical blocks stacking up nearby is a common mistake on complex boards. Periodically check the entire grid rather than narrowing your focus onto just the row or column you are currently working through.

    Building a Repeatable Solving Process

    Rather than approaching every master board with fresh guesswork, use this consistent process to improve solving speed and reduce dead ends:

    • Scan the full grid and identify the direct theoretical path from red block to exit
    • Separate blocks that genuinely intersect this path from decorative or irrelevant pieces
    • Plan a rough sequence mentally before making a single physical move
    • Prioritize repositioning vertical blockers early, since they tend to have fewer flexible options
    • Reassess the full board after every three or four moves rather than only reacting to the immediate obstacle

    This approach dramatically reduces the trial-and-error restarts that make master difficulty frustrating for players who jump straight into sliding blocks without a plan.

    Common Mistakes That Slow Down Master-Level Solving

    Even players comfortable with intermediate levels lose significant time on master boards because of a few repeated habits. Watch out for these:

    • Moving blocks reactively instead of planning ahead. This is the single biggest cause of getting completely stuck on master difficulty.
    • Ignoring vertical blockers until they become urgent. Vertical pieces often have fewer safe repositioning spots, and delaying their movement makes them harder to handle later.
    • Restarting entirely instead of undoing a few recent moves. A full restart wastes progress that was often still salvageable with just a handful of moves undone.
    • Focusing on a single row or column too narrowly. Tunnel vision on one section of the grid often causes unexpected blockages elsewhere.

    Cutting down on these mistakes alone tends to noticeably reduce how often you get stuck on tightly packed master boards.

    Practice Habits That Improve Master-Level Performance

    Like most spatial reasoning puzzles, getting consistently better at Unblock Me comes down to deliberate practice rather than occasional lucky sequences. A few habits make a real difference over time:

    • Replay intermediate boards specifically practicing the backward planning technique before attempting new master levels
    • Pause and scan the full grid every few moves rather than only reacting to the immediate obstacle
    • Track which block types, horizontal or vertical, tend to cause the most trouble on your typical boards
    • Take a short break if a board is not clicking, since fresh eyes often spot the correct sequence faster

    None of these habits require in-app purchases or special unlocks. They simply require patience and a willingness to plan before sliding.

    FAQ: Solving Unblock Me Master Difficulty Levels

    What is the biggest difference between intermediate and master difficulty boards?

    Master boards leave far less room for trial and error. A single careless move can trap the red block behind other pieces, requiring several moves to undo, so forward planning matters much more than at easier difficulty levels.

    Should I always plan forward from the red block’s starting position?

    Not always. Occasionally working backward from the exit, imagining what the grid needs to look like just before the winning slide, helps solve boards that resist a purely forward-planning approach.

    Why do vertical blocks cause more trouble than horizontal ones?

    Vertical blocks often have fewer available spaces to shift into compared to horizontal blocks, which makes them easier to accidentally lock into an unhelpful position if addressed too late in the solving process.

    Is it better to undo a few moves or restart the entire board when stuck?

    Undoing a handful of recent moves is almost always faster than a full restart, since it preserves progress that was often still salvageable rather than discarding the entire sequence.